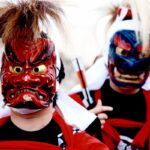
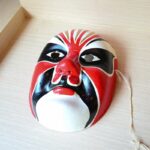
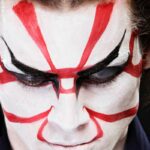
Kabuki masks have a rich history in Japanese culture. They are frequently used in rituals, festivals, and even in theater.
There are a number of different kabuki masks that are used around Japan, and they can represent animals, ghosts, people, gods, devils, and other creatures.
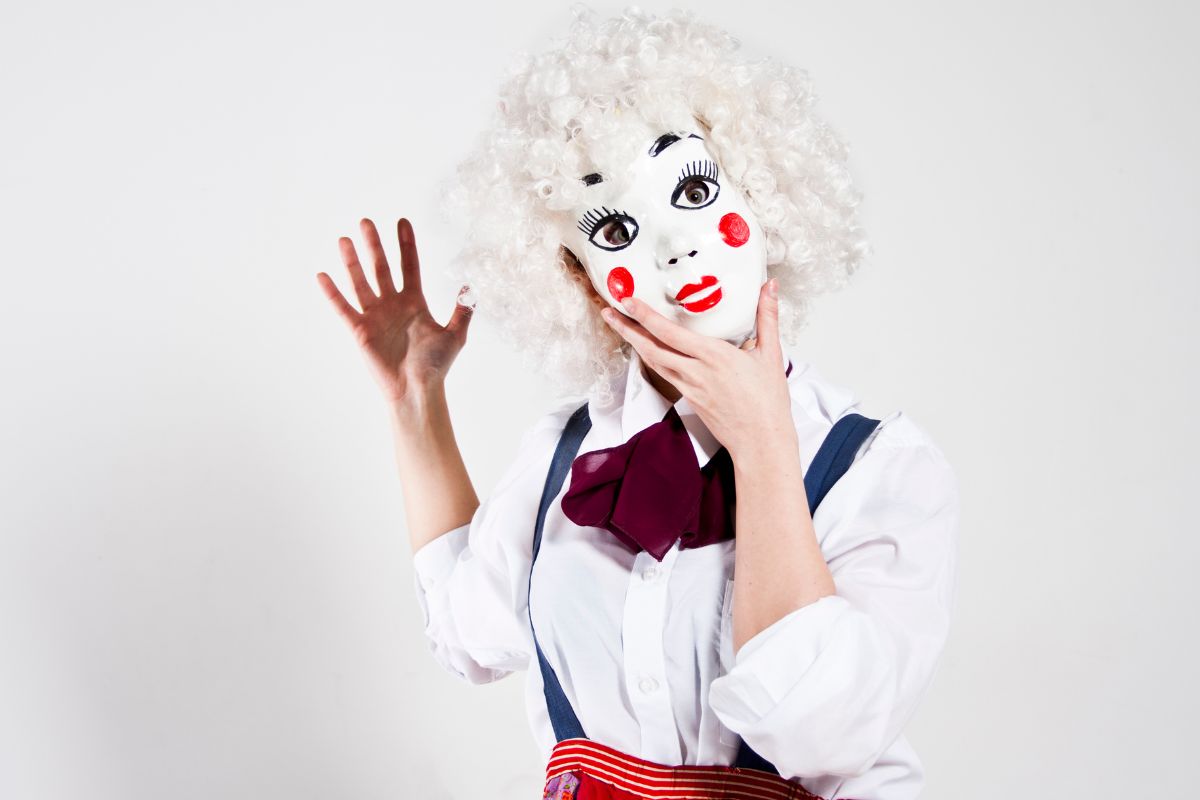
If you want to make your own kabuki mask, you can do so easily! Of course, you can also purchase one of these masks online, but making your own is satisfying.
In this article, we will go over how to make three different types of kabuki masks – the Japanese fox mask, Noh mask, and the Hannya mask.
Read on to find out more!
How To Make A Kabuki Mask For Beginners
Japanese Fox Mask
The Japanese fox mask is often used in festivals to represent the kitsune. This is one of the easier masks to make, and is a lot of fun.
What you will need to make this mask:
- PVA glue – this will be needed to the paper mache process
- Newspaper – this will be needed for the paper mache process
- Aluminum foil – this can be used to create the base of mold of the mask
- Paint of choice – you will need to paint the mask to complete it
- Cutter or precision knife – this will be needed to clean up the mask once the paper mache is done
- Balloon – to paper mache directly onto to mimic the shape of a face
- Ribbon – to thread through the holes at the back of the mask so that it can be worn
- Modeling clay – this will be used to smooth the mask
Steps to follow to make this mask:
- Blow up the balloon so that it is smaller than your face
- Prepare the PVA glue mixture and the paper for the paper mache
- Paper mache the materials onto the mask, gradually building it up. If you aren’t sure how to do paper mache, check out this video that walks you through everything you need to know
- Wait for the layers to dry, then continue with the paper mache process until the mask is the right shape and has dried
- You can not pop or remove the balloon as the mask base is complete!
- Use your knife or precision cutter to cut out the necessary areas like the eyes
- Now you can add a top layer of newspaper to smooth things out, or use some clay and allow it to dry thoroughly
- Use your paint of choice to paint and decorate the mask
- Carefully make two holes at the back of the mask and thread some ribbon through. This will allow you to wear the mask.
Noh Mask
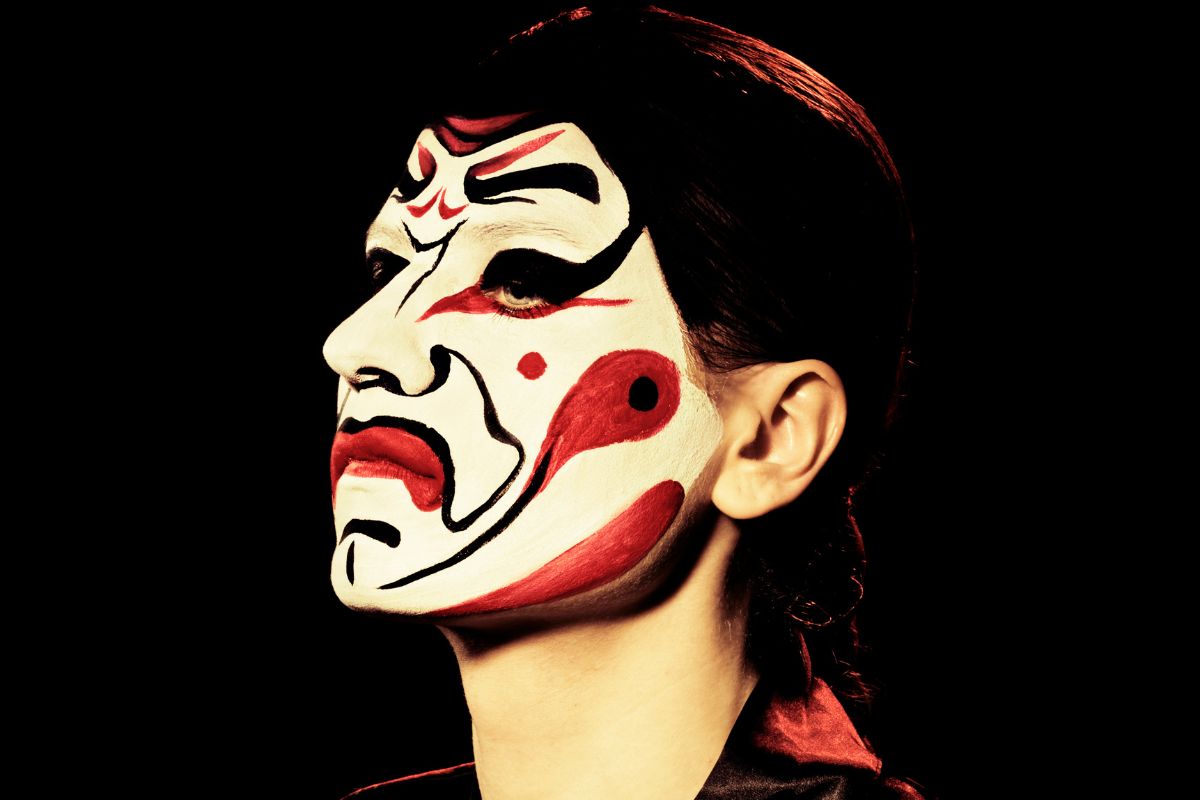
A noh mask is a mask that will represent the gender of a character, their age, and their social ranking. These faces will usually look human, but could also be animal or nonhuman characters.
There used to be roughly 60 types of noh masks, but there are now over 200 recognized ones.
You will need to decide which kind of noh mask you want to make before starting this project. Don’t go in blind!
What you will need to make this mask:
- Plastic/Paper/Wood/Balloon – this will be used to create the base of your mask. Pick whichever material you would prefer to use based on your own experience, preference, or suitability.
- Object to either carve or cut your chosen material – this may range from scissors to carving tools
- Paint – select the colors you are going to need to create your specific noh mask
- Elastic band – this will be used to secure the mask to wear it
Steps to follow to make this mask:
- Outline the shape of your mask on whichever material you are using as the base
- Cut or carve the outline out using your cutting materials. Take your time doing this, and wear protective gear if necessary
- Allow the material to rest a while after it has been cut. You can assess the shape to see if any more changes need to be made
- **If you are going to go down the paper mache route, you will use the balloon, paper, and glue to construct the base of the noh mask, then allow it to dry for at least a day before proceeding to the next step
- **If you have used wood, you may need to sand the mask down to ensure that it is smooth. Use sandpaper to do this by hand.
- Once the base of the mask is ready, you can paint it using the colors you have chosen. Find an image of the kabuki mask you would like to recreate and follow the patterns
- Attach the elastic band to the back of the mask so that you can wear it.
Hannya Mask
The hannya mask is another mask often used in theater. This mask symbolizes a jealous female demon. It is characterized by metallic eyes, two sharp horns that resemble a bull’s, and a terrifying leering mouth.
A hannya mask may also represent a dragon, or serpent, making this a very interesting mask to look at!
What you will need to make this mask:
- OPTIONAL- an original mask or mold – this will make the process much easier, but it isn’t necessary. If you don’t have one, you can make your mask from scratch and use aluminum foil to make a mold.
- A knife or another cutting implement – this will be needed to cut the eyes out of the mask
- Aluminum foil – aluminum foil can be used to create a mold to follow, or it can be used to cover the original mask so that none of the other materials get on it and damage it
- Paper (preferably newspaper) – this will be used as part of the paper mache process. You can also use kitchen paper or even toilet paper, as long as the paper is thin
- PVA glue – this will also be used as part of the paper mache process. A glue stick will not work, it has to be liquid to fully soak the paper to ensure that the layers are sturdy
Steps to follow to make this mask:
- **If you have an original mask to use, use the aluminum foil to carefully cover it. If you notice any tears, use the masking tape to patch it up to protect the mask.
- **If you do not have a mask to use as a mold, you can create your own mold using the aluminum foil by working it into shape. You can make a mold thin enough to completely cover the aluminum, or you can make a more sturdy mold to put the mask on one side.
- Use the paper mache process to start laying the paper and glue onto the mold. If you aren’t sure how to paper mache, watch this video as it explains everything you need to know. This will be a gradual process, as you may have to wait for layers to dry before adding more.
- Once the mask base is complete, you can add the horns. You can use aluminum foil to create the base and paper mache on top of it. Follow the same process as above to get this part done.
- Once everything is dry and in place, use a knife to cut the mouth and eyes area if you go over these parts.
- Now, allow the mask to dry again, then paint it!
Final Thoughts
Hopefully this article has helped, and you can now go and make your own kabuki masks! It’s a fun project, and you can educate yourself about these art forms in the process.
Good luck!
- 16 Best Websites To Watch Japanese Movies With English Subtitles - May 11, 2023
- Is ZIPAIR The Best Airline For Traveling To Japan? - May 11, 2023
- Ryu Murakami Vs Haruki Murakami – Which One Should You Read? - May 11, 2023


