
The kimono is one of the most iconic symbols of Japanese culture, and it is not hard to see why. Kimonos, worn correctly, can look stunning, accentuate the figure, and create a beautiful silhouette.
They also look fantastic on both men and women.

But how exactly do you wear a kimono the “right” way? Is there a correct way to do it? And how do you make sure that you are following it?
Wearing a kimono can be a great way to honor Japanese tradition, celebrate the culture, and create a truly unique look. But you will want to make sure that you do it just right.
If you want to try wearing a kimono yourself, we recommend reading down below, because we will show you exactly how to do it, and some of the things you will want to always keep in mind!
How Do You Wear A Kimono?
The biggest hurdle many people face when trying to put on a kimono is the sheer number of parts needed to complete the outfit. Each part needs to be put on in the correct order in order for the look to be completed.
Thus, we should take this slowly and take a look at each individual element, and how you should put it on!
Step 1 – Tabi
The first element of the outfit that you are going to want to put on is the tabi. The tabi are unique socks that are designed to accommodate themselves naturally to footwear such as sandals.
They are distinguished by the gap between the toes that allow sandals to be comfortably worn.
It is suggested to put the tabi on first as they can be more difficult to put on once the rest of the outfit has been donned.
Step 2 – The Undergarments
Once you have put on the socks, it is time to put on the two undergarments pieces, the susoyoke, and the hadajuban. The susoyoke is similar to a slip and is easy to put on. Many also often opt for long john trousers for added comfort instead.
Next, you will want to don the Hadajuban, which is similar to a camisole in its texture. This is also easy to put on. Make sure not to tuck it into the susoyoke.
Step 3 – The Nagajuban
The nagajuban is the next important element of the kimono, and it takes the form of a silk robe that is worn directly under the main kimono itself.
The collar is the central element of the nagajuban, and as such you will want to make sure that it looks just right.
In order to ensure that the collar looks right, you will need to get an erishin, which is a small plastic strip that holds the collar firmly in place.
Make sure not to wear your nagajuban too tight to your neck, as you will want about a fist’s-worth of space between the collar and your neck.
Once you have wrapped the nagajuban appropriately, you will then take one of the koshi-himo, which are thin sashes, and then wrap it around the body, below the bust.
Step 4 – The Kimono
Now for the exciting part! Grab the kimono itself and place it onto your body so that the lower seams of the collar meet in the center of the body.
Adjust the kimono so that it is firmly wrapped around you without being tight, and that the nagajuban collar still shows underneath.
It is crucial that you get the next part right in order to get the look just right. Make sure you have a koshi-himo to hand as you will need it to secure the kimono in place. Grab both sides of the kimono, along the collar, and around ten centimeters down.
Take the right side of the kimono and wrap it around the left side of your body. Hold it in place, and then move the left side of the kimono over to the right side of the body.
You should make sure that the right side of the kimono is wrapped slightly higher than the left side, as it should not be visible around the feet, just the left side.
The reason that the left side of the kimono should be over the right is that the opposite way is only used when dressing dead bodies! You don’t want to make that kind of faux pas!
Once the kimono is in place, grab the koshi-himo that you set aside, and then use it to tie the kimono in place over your navel. Make sure the knot is tight, as this is what holds the whole outfit in place.
Because of how you fold the kimono over the body, the top half of the kimono should naturally fold over the koshi-himo, which gives the kimono a flat look.
Before you add the final sash to the outfit, you will want to make sure that the collars of the kimono and the nagajuban are just right.
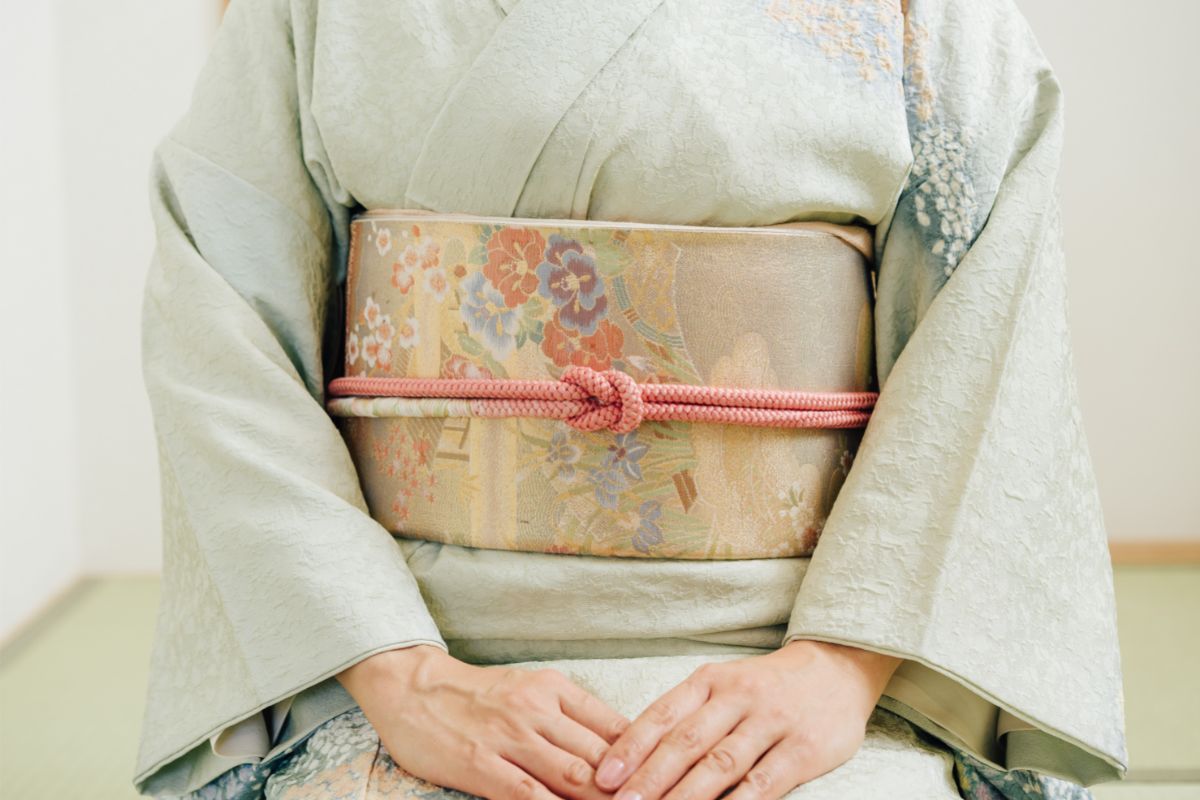
Step 5 – Putting On The Obi
The obi is the final part of the main outfit and is what helps to hold the outfit together and create a sense of cohesion and unity.
Similar to the koshi-himo, the obi is wrapped around the body, except it is much larger, and tends to have a unique pattern that complements the color of the kimono itself.
The obi sash is worn just above the navel, towards the center of the body. Tying the obi to the body is made very simple thanks to its design.
Step 6 – Finishing Touches
Now you have completed the kimono outfit! From here, you can add extra elements as you see fit. These include things such as zori or geta sandals.
To Conclude
There you have it! If you follow our guide, you can easily put on your kimono perfectly in no time.
Make sure that the left side is always wrapped over the right side of the kimono to avoid offending anybody thanks to the connotations that the opposite can suggest.
I hope that, by exploring this website, you all will develop a much deeper appreciation for Japan, and that it may even influence you to pay it a visit yourself eventually! It is definitely a trip of a lifetime, and whether you experience it firsthand, or through my own website, I’m sure you will become just as passionate as I always have been!
- 16 Best Websites To Watch Japanese Movies With English Subtitles - May 11, 2023
- Is ZIPAIR The Best Airline For Traveling To Japan? - May 11, 2023
- Ryu Murakami Vs Haruki Murakami – Which One Should You Read? - May 11, 2023


