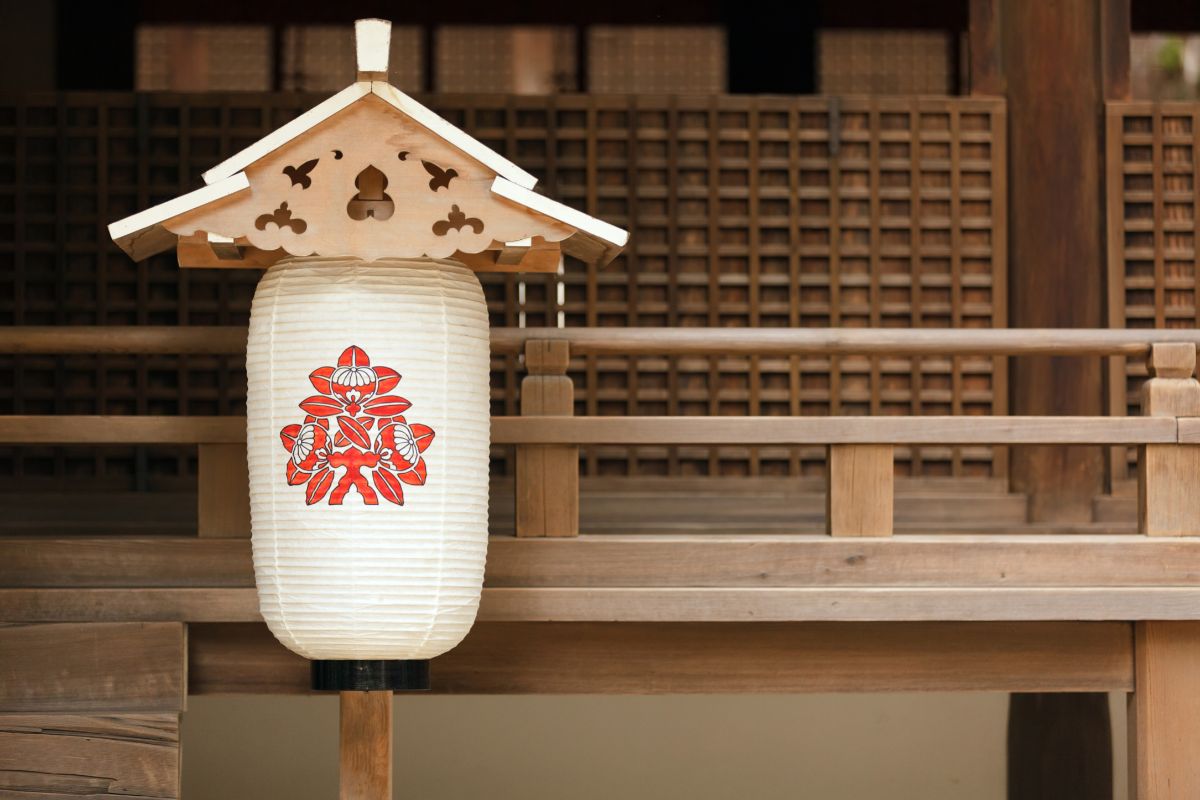
Whether you are interested in Asian interior design or want to make something fun, then a Japanese paper lantern is a great choice. Not only does it make a great craft project, but it is usable too.
Adding a Japanese paper lantern to your room can add a feeling of zen. They allow a soft glowing light to fill the room, which is very relaxing to experience.
If you are wanting to make a Japanese paper lantern, then look no further. Here is an easy step-by-step guide on how to make your own.
Before You Get Started
While traditionally you should use a real flame to light this kind of light, you may not want to risk causing a fire inside the home. If you do plan to use it indoors, or even hung on the exterior walls of the home, use a candle alternative.
A flame may set the paper alight which is never a great experience. It also ruins your craft project. You can place a bunch of cute lights inside the light. These are the lights that you would use on the Christmas tree or inside the home.
You can also purchase fake tea lights and candles that have a flickering effect. If you do plan on using a real candle or tea light, always make sure it is fixed securely on the inside. Also never use a candle when there is wind.
What You Will Need To Make A Japanese Paper Lantern?
Here are the things you will need for the project:
Tissue or rice paper
Size 20 gauge wire – it needs to be strong yet flexible to work with
Wire clippers
Glue for paper use
A mold for the lantern
A form of light
Decoration (if needed)
Step-By-Step: How To Make A Japanese Paper Lantern
Here is an easy step-by-step guide to help you create a beautiful Japanese paper lantern to use in your own home:
Step 1
Before you begin, you will need to find a mold to place the wire on. One easy way to do this is by using a baby formula tin, as it often produces the correct size. However, you can also use a vase, or even a bowl.
No matter what, you will find something to use within the home. Experimentation is often key when it comes to crafting! It also depends on the size you are going for. A bowl will produce a rounded shape, while the baby formula will produce a longer size.
Step 2
Wrap the wire from the bottom of the mold and then work your way up. Leave the same space between each tier too. You will need to do this until you reach the top of the mold. Never cut the wire and instead leave it on the spool.
You can then cut off the excess wire. However, leave some length at the end of the wire.
Step 3
Remove the wire off the mold. It will likely all squish together, so you will need to reshape it. At first you might find this tricky, but persevere!
Step 4
At the top of the lantern, use the extra wire to create a handle. Make a loop and then wrap the extra wire to the other side. At the bottom of the lantern, use the extra wire to wrap around each of the tiers.
Start from the bottom and loop the wire around each tier to create a straight line going up. Once you reach the top of the lantern, twist it around to secure it in place.
Step 5
Now is the time to create the outer shell. Depending on the shape and size of the lantern, cut panels out of the paper, but always make them bigger. They will need to overlap.
Step 6
Glue the top end of the paper to the top of the lantern. Stretch it over the tiers and glue it to the bottom of the lantern. Do the same to the next paper panels and overlap each one slightly to avoid gaps. Glue the overlapping too, but always wait for panels to dry first.
Step 7
This last step is completely optional. You can then go on to decorate the rest of the paper lantern if you feel the paper isn’t enough on its own.
Tips On Making A Japanese Paper Lantern
When making the frame, make sure that you do it in such a way that you can remove the inner object. If you do not, you risk trapping it inside the wired frame. When this happens, you will not be able to use it as a light, and it may be too heavy to hang somewhere.
Always be aware of the thickness of the paper that you use. The thinner it is, the easier it may be to accidentally tear. However, you will want it to be thin enough that light flows through it easily. Try to go for a medium thickness to start with.
The glue you use should be suitable to use on paper and not too wet. If the paper begins to crinkle up, then you will need to swap to a different glue. If you are unsure of the effects when it comes to your glue and paper, always do a trial first.
As you wrap the wire around the object to create the final shape, always leave equal room between each one. You will want the shape to look symmetrical throughout, without any weird dips.
Final Thoughts
Making a Japanese paper lantern is a great way to add some zen inside your home. It also means you can create an Asian feel within a room too, or work on a craft project that you can use. Just remember to always keep in mind how you are going to light it.
These days you can buy fake candles which have a flickering effect. Nobody needs to know that the flame isn’t real. Plus, it is much safer.
Hi, I’m Jason Patrick, and for as long as I have been alive, I have been obsessed with Japanese culture. From the sights and sounds of Japan’s many cities to its culinary delights that have become famous worldwide, I simply cannot get enough of this wonderful nation!
I hope that, by exploring this website, you all will develop a much deeper appreciation for Japan, and that it may even influence you to pay it a visit yourself eventually! It is definitely a trip of a lifetime, and whether you experience it firsthand, or through my own website, I’m sure you will become just as passionate as I always have been!