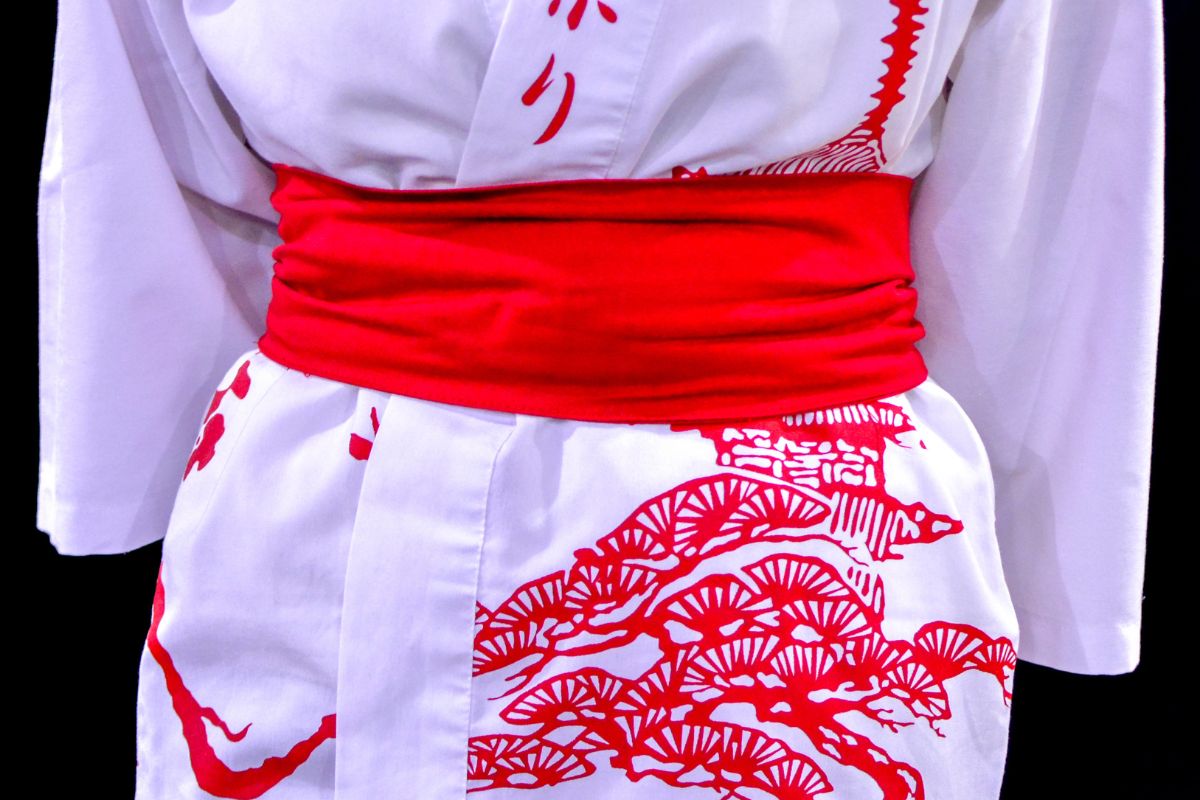
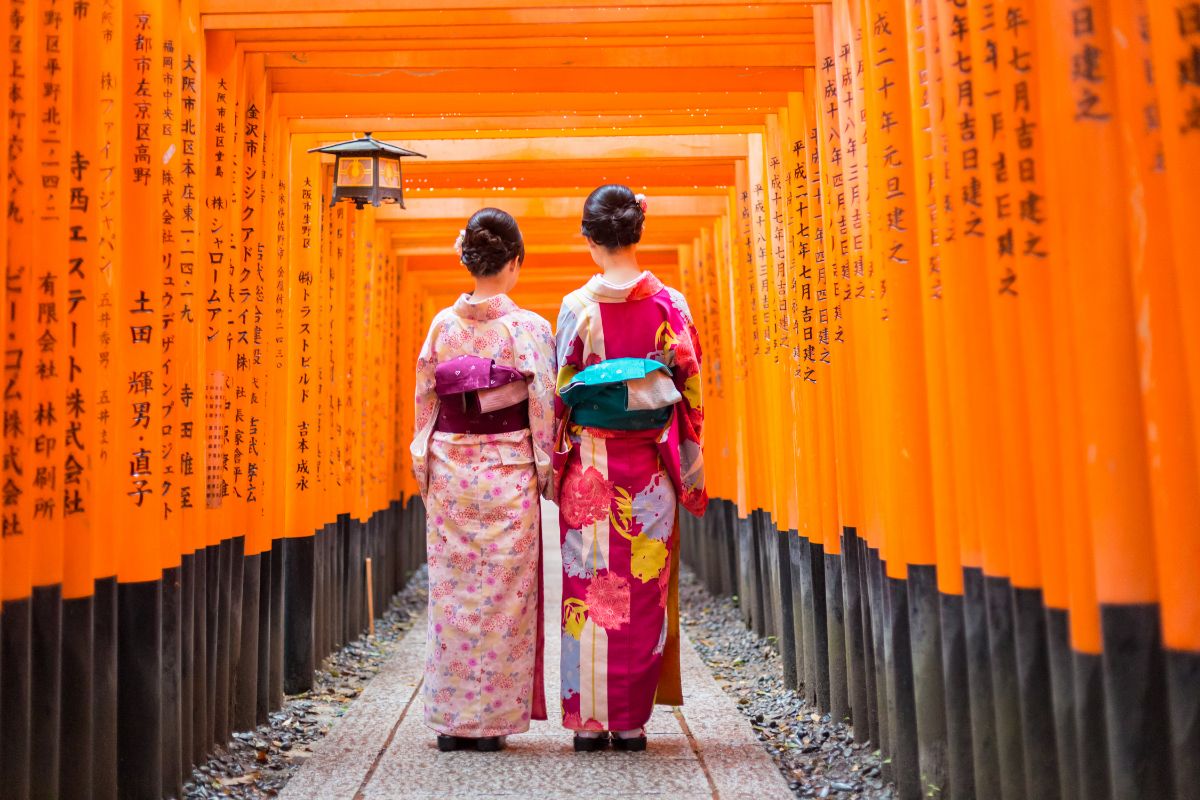
Like many rituals and traditions in Japan, clothing is highly influential. Traditional outfits play different roles in particular scenarios, and the Obi is always an essential item of clothing for security and maximum coverage.
From wedding ceremonies and celebrations to attending religious events, the Obi completes a range of traditional looks.
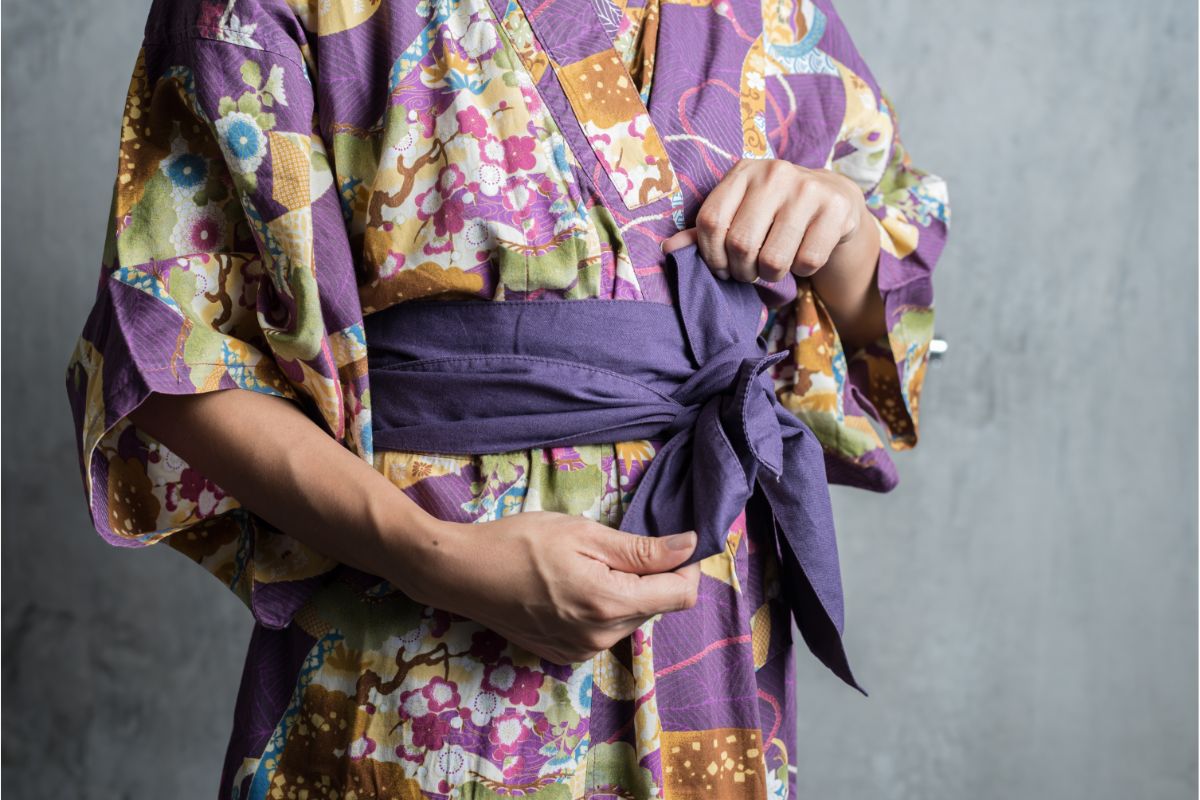
The Obi is actually the name of the tie that is used to secure a kimono in place. They play an important role in traditional Japanese clothing, and it is important to know how to correctly tie an Obi.
Step One: Choose Your Obi
If you want to complete your kimono look with a traditional Obi, then you could choose a heko obi. These have similar patterns to kimonos, and tend to look like long scarves.
These can be purchased or hired at the same time that you are sourcing your kimono.
Alternatively, you can use a long scarf that is around 30 cm wide, and four meters in length. A makeshift kimono clip is also needed during this stage. This can be substituted for a clothes pin, but traditional clips complete the look.
Step Two: Put Your Kimono On
Once you have chosen the right Obi that complements the colors of your kimono, then you can put it on. This can be a little challenging if you haven’t done so already.
Because of this, it is recommended that you ask for assistance if you are unsure.
Somebody with more knowledge and experience could be of great help when you are getting ready to put your Obi on.
Step Three: Fold
The first part of getting the Obi ready is to fold the entire scarf of wrap into half. With the length laid out on the ground, you can fold the Obi onto itself, with the seam falling along the width in the center.
Folding the width in half can be challenging when dealing with a larger length of material, which is why you should try to keep track of the Obi that you have already folded.
This can be done by folding the length onto itself after folding the width, so that it takes up less space in the meantime.
Step Four: Fold Again And Measure
Once you have a pile of folded Obi, you can attach the clip to your kimono on the left collar.
Then, you can fold the width of the Obi in half again before measuring one and a half arm’s length of the Obi with the open layers facing upwards.
You can then clip the measured Obi to the kimono clip on your collar. Once again, make sure the open side is facing you.
Step Five: Wrap
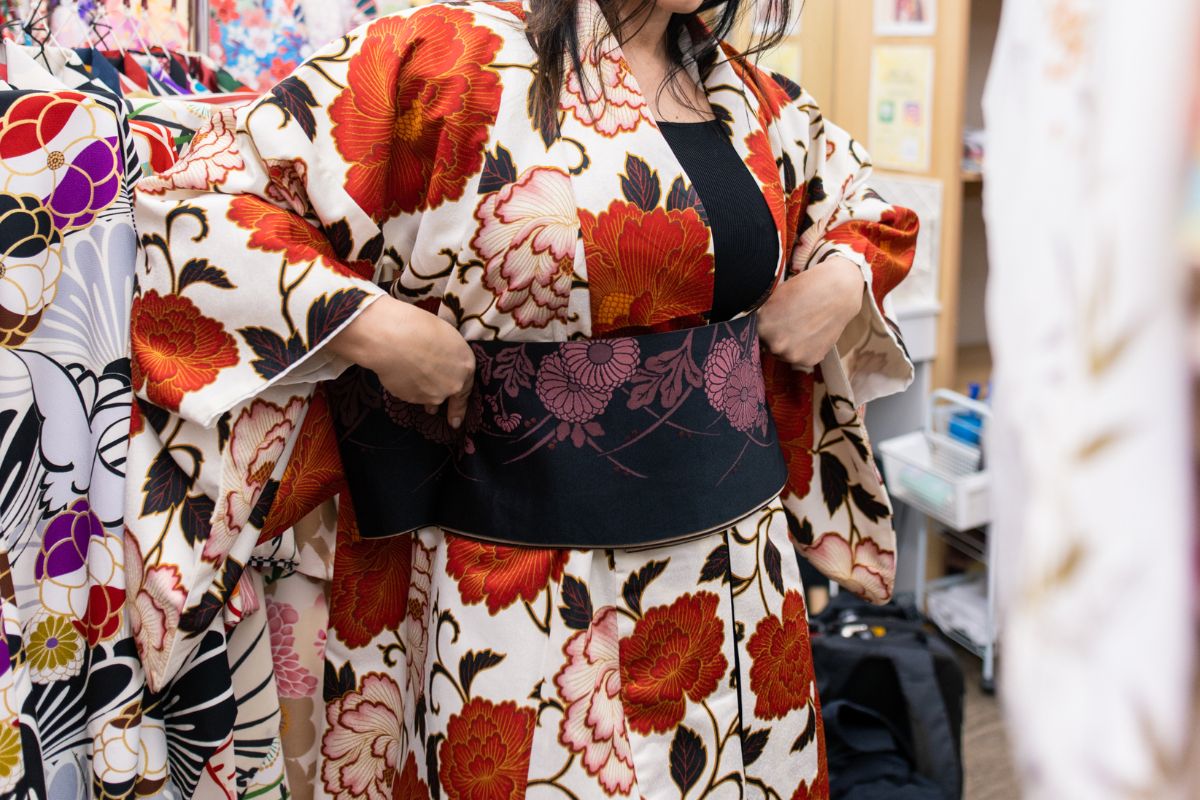
Now that you have the Obi ready, you can open it up against the middle of your waist before wrapping it around yourself.
Make sure you pull both ends of the Obi to keep everything tight and secure before wrapping the second time around your waist.
Create straight lines and edges with the Obi, and remember to take your time doing this. This is because the wrapping can impact the overall look in the end, so it’s worth getting it right.
Step Six: Obi Knots
Once everything is wrapped correctly, you can tighten by pulling on both ends of the Obi before securing everything in place. There are a few types of Obi knots that can be used to attach everything and keep your Obi wrap secure.
With your right hand in the middle of your waist, fold your Obi in half so that there is a visible diagonal line across your waist.
Then, you can pull the piece that was on your shoulder towards your right shoulder while holding the side that you have just folded.
Then, you can lay the piece that was resting on your shoulder on top of the other side to make a triangle shape.
Pull this through the triangle and tighten the knot. Once you have done this, you can pull the knot from above so that it won’t loosen.
Step Seven: Bow
Now that you have the excess material in front of you on either side of the knot, you can tie a bow.
After adjusting each side of the bow to your preference, you can make it more voluminous by feeding the edges through the Obi to sit on top of the bow.
Another way of adjusting the bow involves tucking in the ends for a more seamless approach. This can be done by folding the ends of the bow in half, and tucking them around the center of the bow twice.
Then, roll any leftover material onto itself before tucking it into the Obi behind the bow.
Some people like playing around with the bow on their Obi, while others prefer a simple look that completes their traditional kimono look.
Whatever you prefer, it can be fun to play around with different bows and adjust your Obi according to this.
Step Eight: Pull Around
The final step is to carefully pull your Obi around so that the bow is against your back. This creates the traditional look that is known in kimonos and other Japanese gowns.
Once you have done this, it is important to check that nothing has been moved or rotated, and make adjustments accordingly.
It could be worth asking someone for a little help during this stage so that everything flows smoothly.
Similarly, you could assemble your Obi in front of a mirror or multiple mirrors at different angles to check that everything is where it should be.
Summary
Kimonos are elegant outfits that can make a big impact when they are worn with an Obi. They are usually long sheets of fabric or scarves that can be wrapped around the body once your kimono is on.
Make sure you ask someone for help if you are unsure, and that you are taking your time with each step. This can impact the overall look of your Obi and kimono, so it is worth practicing this.
- 16 Best Websites To Watch Japanese Movies With English Subtitles - May 11, 2023
- Is ZIPAIR The Best Airline For Traveling To Japan? - May 11, 2023
- Ryu Murakami Vs Haruki Murakami – Which One Should You Read? - May 11, 2023

![20 Best Japanese Directors [And Their Most Famous Movies] 20 Best Japanese Directors [And Their Most Famous Movies]](https://justaboutjapan.com/wp-content/uploads/2023/05/20-Best-Japanese-Directors-And-Their-Most-Famous-Movies-150x150.jpg)
